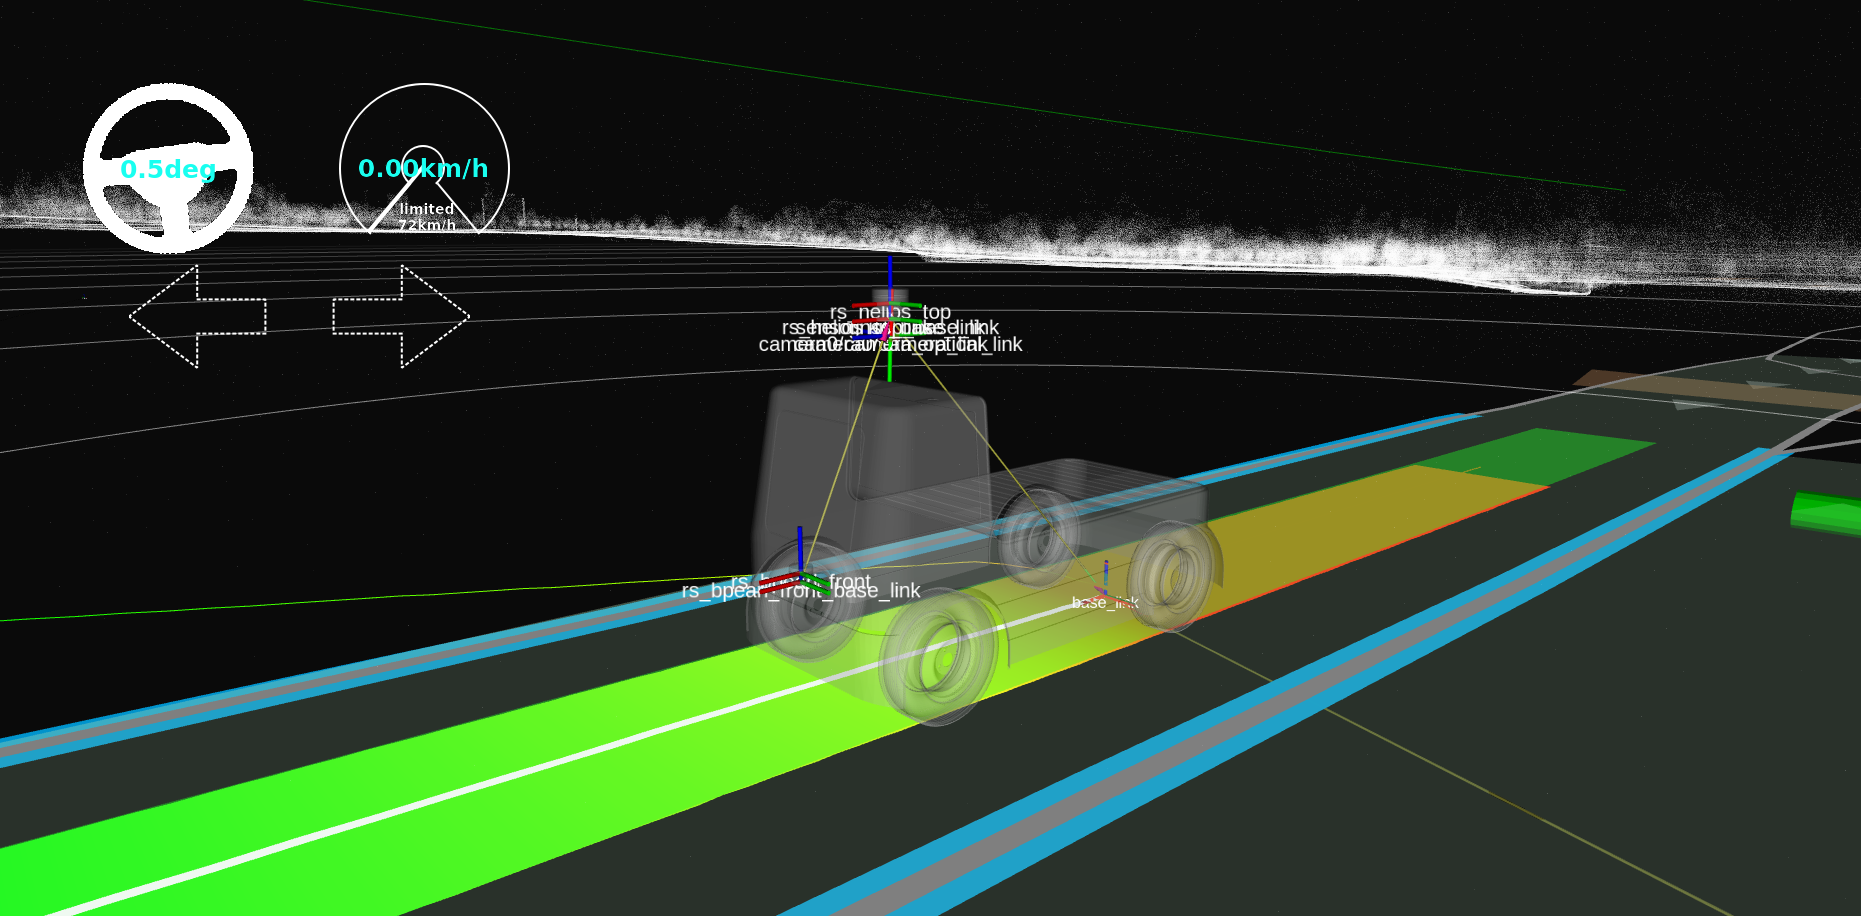
Creating a vehicle model for Autoware#
Introduction#
This page introduces the following packages for the vehicle model:
<YOUR-VEHICLE-NAME>_vehicle_description<YOUR-VEHICLE-NAME>_vehicle_launch
The template for these packages is If your forked Autoware meta-repository doesn't include Now, we are ready to modify the following vehicle model packages for our vehicle. Firstly, we need to rename the description and launch packages. Autoware finds these packages by the After that, we will change our package names in the package.xml file and CMakeLists.txt file of the sample_vehicle_description and sample_vehicle_launch packages. So, open the package.xml file and CMakeLists.txt file with any text editor or IDE of your preference and perform the following changes: Change the Change the Remember to apply the name changes and project method for BOTH The main purpose of this package is to describe the vehicle dimensions, 3D model of the vehicle, mirror dimensions of the vehicle, simulator model parameters and URDF of the vehicle. The folder structure of vehicle_description package is: Now, we will modify these files according to our vehicle design. This file describes your vehicle mirror dimension for CropBox filter of PointCloudPreprocessor. This is important for cropping mirrors from your lidar's point cloud. The sensor kit does not read this file at run time. Instead, a script makes the crop box parameter files of the sensor kit from this file and from The Fill the mirror param file with this dimension information. All values are in meters, from Warning Since there is no mirror in This file is a configuration file for the simulator environment. Please update these parameters according to your vehicle specifications. For detailed information about variables, please check the autoware_simple_planning_simulator package. The file consists of these parameters: This file stores the vehicle dimensions for Autoware modules. Please update it with your vehicle information. You can refer to the vehicle dimensions page for detailed dimension demonstration. Here is the Please update You can use .fbx or .dae format as a 3D model with autoware. For the tutorial_vehicle, we exported our 3D model as a .fbx file in the tutorial_vehicle_launch repository. We will set the .fbx file path at This .xacro file links the base_link of the vehicle to the 3D mesh. Therefore, we need to make some modifications in this file. You can also modify roll, pitch, yaw, x, y, z and scale values for the correct position and orientation of the vehicle. Please build vehicle_description package after the completion of your If your vehicle interface is ready, then you can add your vehicle_interface launch file in After completing the sensor_model and vehicle model of your vehicle, you are ready to launch the planning simulator with your own vehicle. If you are not sure if every custom package in your Autoware project folder is built, please build all packages: To launch the planning simulator, source the install/setup.bash file in your Autoware project folder and run this command in your terminal: For example, if we try planning simulator with the tutorial_vehicle: The planning simulator will open, and you can give an initial pose to your vehicle using sample_vehicle_launch. It is in the vehicle/ folder of the autoware_launch repository. (The old sample_vehicle_launch repository is archived.) Copy it into your own repository, as we described on the creating autoware repositories page. For instance, we created tutorial_vehicle_launch as an implementation example for the said step. Please ensure that the <YOUR-OWN-AUTOWARE-DIR>/
└─ src/
└─ vehicle/
└─ <YOUR-VEHICLE-NAME>_vehicle_launch/
├─ <YOUR-VEHICLE-NAME>_vehicle_description/
└─ <YOUR-VEHICLE-NAME>_vehicle_launch/
<YOUR-VEHICLE-NAME>_vehicle_launch with the correct folder structure as shown above, please add your forked <YOUR-VEHICLE-NAME>_vehicle_launch repository to the repositories/autoware.repos file and run the vcs import src < repositories/autoware.repos command in your terminal to import the newly included repositories at autoware.repos file.vehicle_model launch argument: it loads <vehicle_model>_description and <vehicle_model>_launch. For example, vehicle_model:=sample_vehicle loads sample_vehicle_description and sample_vehicle_launch. So the package names must have this form:<YOUR-VEHICLE-NAME>_vehicle_launch/
- ├─ sample_vehicle_description/
+ ├─ <YOUR-VEHICLE-NAME>_vehicle_description/
- └─ sample_vehicle_launch/
+ └─ <YOUR-VEHICLE-NAME>_vehicle_launch/
<name> attribute at package.xml file:<package format="3">
- <name>sample_vehicle_description</name>
+ <name><YOUR-VEHICLE-NAME>_vehicle_description</name>
<version>0.53.0</version>
<description>The sample_vehicle_description package</description>
...
...
project() method at CMakeLists.txt file. cmake_minimum_required(VERSION 3.5)
- project(sample_vehicle_description)
+ project(<YOUR-VEHICLE-NAME>_vehicle_description)
...
...
<YOUR-VEHICLE-NAME>_vehicle_descriptionand <YOUR-VEHICLE-NAME>_vehicle_launch ROS 2 packages. Once finished, we can proceed to build said packages:colcon build --symlink-install --cmake-args -DCMAKE_BUILD_TYPE=Release --packages-up-to <YOUR-VEHICLE-NAME>_vehicle_description <YOUR-VEHICLE-NAME>_vehicle_launch
Vehicle description#
<YOUR-VEHICLE-NAME>_vehicle_description/
   ├─ config/
   │     ├─ mirror.param.yaml
   │     ├─ simulator_model.param.yaml
   │     └─ vehicle_info.param.yaml
   ├─ mesh/
   │     ├─ <YOUR-VEHICLE-MESH-FILE>.dae (or .fbx)
   │     ├─ ...
   └─ urdf/
         └─ vehicle.xacro
mirror.param.yaml#
vehicle_info.param.yaml. See the creating sensor model page.mirror.param.yaml consist of the following parameters:/**:
ros__parameters:
min_longitudinal_offset: 0.0
max_longitudinal_offset: 0.0
min_lateral_offset: 0.0
max_lateral_offset: 0.0
min_height_offset: 0.0
max_height_offset: 0.0
base_link. Please be careful with the min_lateral_offset parameter. The right side of the vehicle has negative y values, so this value is usually negative, like in the mirror dimension figure below. For example, the sample_vehicle uses min_lateral_offset: -1.4 and max_lateral_offset: 1.4.tutorial_vehicle, all values set to 0.0. If your vehicle does not have mirror, you can set these values 0.0 as well.simulator_model.param.yaml#
/**:
  ros__parameters:
    simulated_frame_id: "base_link" # center of the rear axle.
    origin_frame_id: "map"
    vehicle_model_type: "DELAY_STEER_ACC_GEARED" # options: IDEAL_STEER_VEL / IDEAL_STEER_ACC / IDEAL_STEER_ACC_GEARED / DELAY_STEER_ACC / DELAY_STEER_ACC_GEARED
    initialize_source: "INITIAL_POSE_TOPIC" #  options: ORIGIN / INITIAL_POSE_TOPIC
    timer_sampling_time_ms: 25
    add_measurement_noise: False # the Gaussian noise is added to the simulated results
    vel_lim: 50.0 # limit of velocity
    vel_rate_lim: 7.0 # limit of acceleration
    steer_lim: 1.0 # limit of steering angle
    steer_rate_lim: 5.0 # limit of steering angle change rate
    acc_time_delay: 0.1 # dead time for the acceleration input
    acc_time_constant: 0.1 # time constant of the 1st-order acceleration dynamics
    steer_time_delay: 0.24 # dead time for the steering input
    steer_time_constant: 0.27 # time constant of the 1st-order steering dynamics
    steer_dead_band: 0.0 # dead band of the steering angle
    x_stddev: 0.0001 # x standard deviation for dummy covariance in map coordinate
    y_stddev: 0.0001 # y standard deviation for dummy covariance in map coordinate
    enable_road_slope_simulation: true # if true, slopes in the lanelet map are used to apply an extra acceleration to the ego vehicle
vehicle_info.param.yaml#
vehicle_info.param.yaml for sample_vehicle:/**:
ros__parameters:
wheel_radius: 0.383 # The radius of the wheel, primarily used for dead reckoning.
wheel_width: 0.235 # The lateral width of a wheel tire, primarily used for dead reckoning.
wheel_base: 2.79 # between front wheel center and rear wheel center
wheel_tread: 1.64 # between left wheel center and right wheel center
front_overhang: 1.0 # between front wheel center and vehicle front
rear_overhang: 1.1 # between rear wheel center and vehicle rear
left_overhang: 0.128 # between left wheel center and vehicle left
right_overhang: 0.128 # between right wheel center and vehicle right
vehicle_height: 2.5
max_steer_angle: 0.70 # [rad]
vehicle_info.param.yaml with your vehicle information.3D model of vehicle#
vehicle.xacro file.vehicle.xacro#
<?xml version="1.0"?>
<robot xmlns:xacro="http://ros.org/wiki/xacro">
  <!-- load parameter -->
- <xacro:property name="vehicle_info" value="${xacro.load_yaml('$(find sample_vehicle_description)/config/vehicle_info.param.yaml')}"/>
+ <xacro:property name="vehicle_info" value="${xacro.load_yaml('$(find <YOUR-VEHICLE-NAME>_vehicle_description)/config/vehicle_info.param.yaml')}"/>

  <!-- vehicle body -->
  <link name="base_link">
    <visual>
      <origin xyz="${vehicle_info['/**']['ros__parameters']['wheel_base']/2.0} 0 0" rpy="${pi/2.0} 0 ${pi}"/>
      <geometry>
-       <mesh filename="package://sample_vehicle_description/mesh/lexus.dae" scale="1 1 1"/>
+       <mesh filename="package://<YOUR-VEHICLE-NAME>_vehicle_description/mesh/<YOUR-3D-MESH-FILE>" scale="1 1 1"/>
      </geometry>
    </visual>
  </link>
</robot>
cd <YOUR-AUTOWARE-DIR>
colcon build --symlink-install --cmake-args -DCMAKE_BUILD_TYPE=Release --packages-up-to <YOUR-VEHICLE-NAME>_vehicle_description <YOUR-VEHICLE-NAME>_vehicle_launch
Launching vehicle interface#
vehicle_interface.launch.xml of the <YOUR-VEHICLE-NAME>_vehicle_launch package. In sample_vehicle_launch, this file only declares the vehicle_id argument and launches nothing. Please check the creating vehicle interface page for more info.Launch planning simulator with your own vehicle#
cd <YOUR-AUTOWARE-DIR>
colcon build --symlink-install --cmake-args -DCMAKE_BUILD_TYPE=Release
ros2 launch autoware_launch planning_simulator.launch.xml map_path:=$HOME/autoware_data/maps/sample-map-planning/ vehicle_model:=<YOUR-VEHICLE-MODEL> sensor_model:=<YOUR-SENSOR-KIT>
ros2 launch autoware_launch planning_simulator.launch.xml map_path:=$HOME/autoware_data/maps/sample-map-planning/ vehicle_model:=tutorial_vehicle sensor_model:=tutorial_vehicle_sensor_kit
2D Pose Estimate button or by pressing the P key on your keyboard. You can click everywhere for vehicle initialization.