Launch Autoware#
This section explains how to run your vehicle with Autoware. It explains how Autoware launches these components:
Prerequisites for launching Autoware on a real vehicle#
Before you launch Autoware on your vehicle, do these steps:
- Create your Autoware meta-repository.
- Create your vehicle and sensor model.
- Calibrate your sensors.
- Create your Autoware compatible vehicle interface.
- Create your environment map.
When you complete these steps for your vehicle, you are ready to use Autoware.
autoware_launch package#
The autoware_launch repository holds the launch files and the parameter files of Autoware. Autoware 2.0.0 uses version 0.53.0 of this repository. The top-level launch file is autoware.launch.xml in the autoware_launch package. It enables or disables each component with these launch arguments:
  <arg name="launch_vehicle" default="true" description="launch vehicle"/>
  <arg name="launch_system" default="true" description="launch system"/>
  <arg name="launch_map" default="true" description="launch map"/>
  <arg name="launch_sensing" default="true" description="launch sensing"/>
  <arg name="launch_sensing_driver" default="true" description="launch sensing driver"/>
  <arg name="launch_localization" default="true" description="launch localization"/>
  <arg name="launch_perception" default="true" description="launch perception"/>
  <arg name="launch_planning" default="true" description="launch planning"/>
  <arg name="launch_control" default="true" description="launch control"/>
  <arg name="launch_api" default="true" description="launch api"/>
For example, to debug localization, you do not need perception, planning, and control. You can disable these components in your fork of autoware.launch.xml:
-  <arg name="launch_perception" default="true" description="launch perception"/>
+  <arg name="launch_perception" default="false" description="launch perception"/>
-  <arg name="launch_planning" default="true" description="launch planning"/>
+  <arg name="launch_planning" default="false" description="launch planning"/>
-  <arg name="launch_control" default="true" description="launch control"/>
+  <arg name="launch_control" default="false" description="launch control"/>
You can also set these arguments on the command line:
ros2 launch autoware_launch autoware.launch.xml vehicle_model:=YOUR_VEHICLE sensor_model:=YOUR_SENSOR_KIT map_path:=/PATH/TO/YOUR/MAP \
    launch_perception:=false \
    launch_planning:=false \
    launch_control:=false
autoware.launch.xml starts only RViz and the shared point cloud container itself. For the vehicle, it includes vehicle.launch.xml of tier4_vehicle_launch directly. For each other component, it includes a component launch file from the launch/components directory, for example component_planning.launch.xml. Most component launch files include the feature launch files of the autoware_<component>_launch packages. These launch files read the parameter files of the autoware_<component>_config packages. The sensing component includes sensing.launch.xml of your sensor kit. The system and the API use the tier4_<name>_launch packages. The autoware_launch repository has this layout:
<YOUR-AUTOWARE-DIR>/
  └─ src/
       └─ launcher/
            └─ autoware_launch/
                 ├─ autoware_launch/            # autoware.launch.xml, component launch files, RViz configuration
                 │    ├─ config/                # simulator/, system/, and vehicle/ parameter files
                 │    ├─ launch/
                 │    │    └─ components/
                 │    └─ rviz/
                 ├─ autoware_universe_launch/
                 │    ├─ autoware_control_launch/        autoware_control_config/
                 │    ├─ autoware_localization_launch/   autoware_localization_config/
                 │    ├─ autoware_map_launch/            autoware_map_config/
                 │    ├─ autoware_perception_launch/     autoware_perception_config/
                 │    ├─ autoware_planning_launch/       autoware_planning_config/
                 │    ├─ autoware_sensing_launch/
                 │    └─ autoware_sensor_driver_launch/
                 ├─ tier4_universe_launch/
                 │    ├─ tier4_autoware_api_launch/
                 │    ├─ tier4_simulator_launch/
                 │    ├─ tier4_system_launch/
                 │    └─ tier4_vehicle_launch/
                 ├─ sensor_kit/                 # sample_sensor_kit_launch and other sensor kits
                 ├─ vehicle/                    # sample_vehicle_launch and other vehicles
                 └─ autoware_sample_designs/
The launch files give the parameter files of the autoware_<component>_config packages to the nodes. These values replace the default parameters of the node packages in autoware_core and autoware_universe. So, to change a parameter, change it in the autoware_<component>_config package of your autoware_launch fork. The launch files also have a <component>_config_pkg argument, for example control_config_pkg in component_control.launch.xml and planning_config_pkg in planning.launch.xml of autoware_planning_launch. This argument selects another package with the same config/ layout.
Note
The autoware_sample_designs package shows another way to define and launch Autoware. It describes the system in YAML files, and Autoware System Designer generates the launch files from them. This tutorial uses autoware.launch.xml.
Configure autoware.launch.xml#
You can enable or disable the Autoware components in autoware.launch.xml or with command-line arguments. autoware.launch.xml also has arguments for the configuration of your vehicle. This section shows some of these arguments. You can also use them as command-line arguments.
Vehicle#
In the Vehicle section, you can choose whether the vehicle interface is launched or not. For example, if you disable it, vehicle.launch.xml does not include vehicle_interface.launch.xml:
- <arg name="launch_vehicle_interface" default="true" description="launch vehicle interface"/>
+ <arg name="launch_vehicle_interface" default="false" description="launch vehicle interface"/>
Make sure that vehicle_interface.launch.xml of your vehicle launch package includes your vehicle interface driver. For more information, see the creating vehicle interface page.
Map#
If the names of your point cloud map and your Lanelet2 map are not pointcloud_map.pcd and lanelet2_map.osm, update these arguments:
- <arg name="lanelet2_map_file" default="lanelet2_map.osm" description="lanelet2 map file name"/>
+ <arg name="lanelet2_map_file" default="<YOUR-LANELET2-MAP-FILE-NAME>" description="lanelet2 map file name"/>
- <arg name="pointcloud_map_file" default="pointcloud_map.pcd" description="pointcloud map file name"/>
+ <arg name="pointcloud_map_file" default="<YOUR-POINTCLOUD-MAP-FILE-NAME>" description="pointcloud map file name"/>
Perception#
The data_path argument sets the directory of the machine learning models (the artifacts). The perception, traffic light recognition, and planning launch files read their models from this directory. If you install Autoware with Ansible, it downloads the artifacts to $HOME/autoware_data/ml_models. To download the artifacts manually, see the Ansible artifacts role.
- <arg name="data_path" default="$(env HOME)/autoware_data/ml_models" description="packages data and artifacts directory path"/>
+ <arg name="data_path" default="<YOUR-AUTOWARE-DATA-PATH>" description="packages data and artifacts directory path"/>
Autoware 2.0.0 has no perception_mode argument. component_perception.launch.xml starts a LiDAR-only object recognition pipeline. The sensor kits of autoware_launch have no radars, and object recognition does not use their cameras. For a setup with cameras or radars, your component launch file can include another object recognition launch file of autoware_perception_launch, for example object_recognition_camera_lidar_radar.launch.xml. For the list of these files, see the Perception component reference implementation.
Traffic light recognition uses a high-accuracy detector by default. The traffic_light_recognition/use_high_accuracy_detection argument enables it. For more information, see the traffic_light_fine_detector page. If you do not want to use the high-accuracy detector, disable it. Then Autoware uses the rough detector, which projects the traffic lights of the map into the camera image:
- <arg name="traffic_light_recognition/use_high_accuracy_detection" default="true" description="enable to use high accuracy detection for traffic light recognition"/>
+ <arg name="traffic_light_recognition/use_high_accuracy_detection" default="false" description="enable to use high accuracy detection for traffic light recognition"/>
For more information, see the Launch perception page.
Planning and control#
The planning_module_preset and control_module_preset arguments select a module preset file. A preset file enables or disables the planning and control modules. The default value of both arguments is default. The planning_setting argument selects the source of the trajectory: rule_based (the default) or diffusion_planner. For more information, see the Launch planning and Launch control pages.
Launch Autoware#
Launch Autoware with the following command:
ros2 launch autoware_launch autoware.launch.xml map_path:=<YOUR-MAP-PATH> vehicle_model:=<YOUR-VEHICLE-MODEL> sensor_model:=<YOUR-SENSOR-MODEL> vehicle_id:=<YOUR-VEHICLE-ID>
You can specify which components to launch with command-line arguments. For example, to debug localization, you do not need perception, planning, and control:
ros2 launch autoware_launch autoware.launch.xml map_path:=<YOUR-MAP-PATH> vehicle_model:=<YOUR-VEHICLE-MODEL> sensor_model:=<YOUR-SENSOR-MODEL> vehicle_id:=<YOUR-VEHICLE-ID> \
    launch_perception:=false \
    launch_planning:=false \
    launch_control:=false
After you launch Autoware, initialize the pose of the vehicle on the map. If gnss.launch.xml of your sensor kit starts gnss_poser for your GNSS/INS sensor, gnss_poser sends the pose for the initialization. If you do not have a GNSS sensor, set the initial pose manually.
Set initial pose#
If the automatic initialization does not run or gives an incorrect position, set the initial pose with RViz.
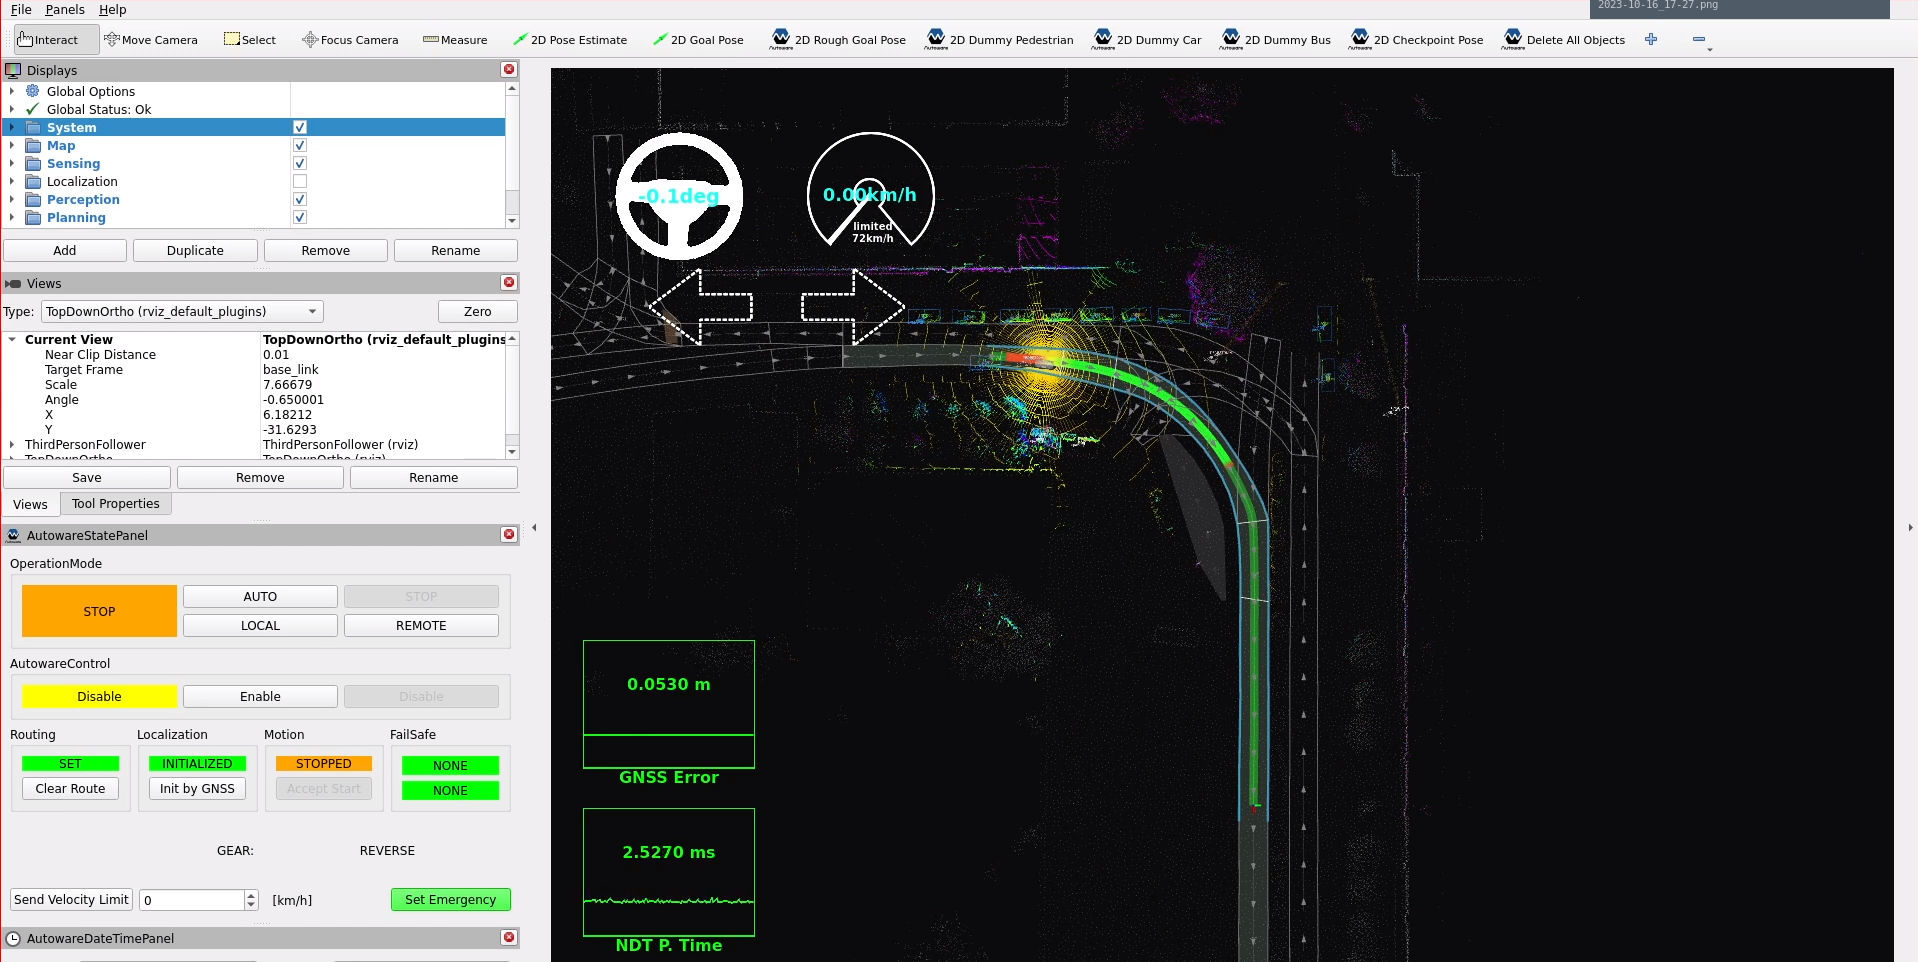
- Click the 2D Pose Estimate button in the toolbar, or press the P key.

- In the 3D View panel, click and hold the left mouse button. Then drag to set the direction of the initial pose.
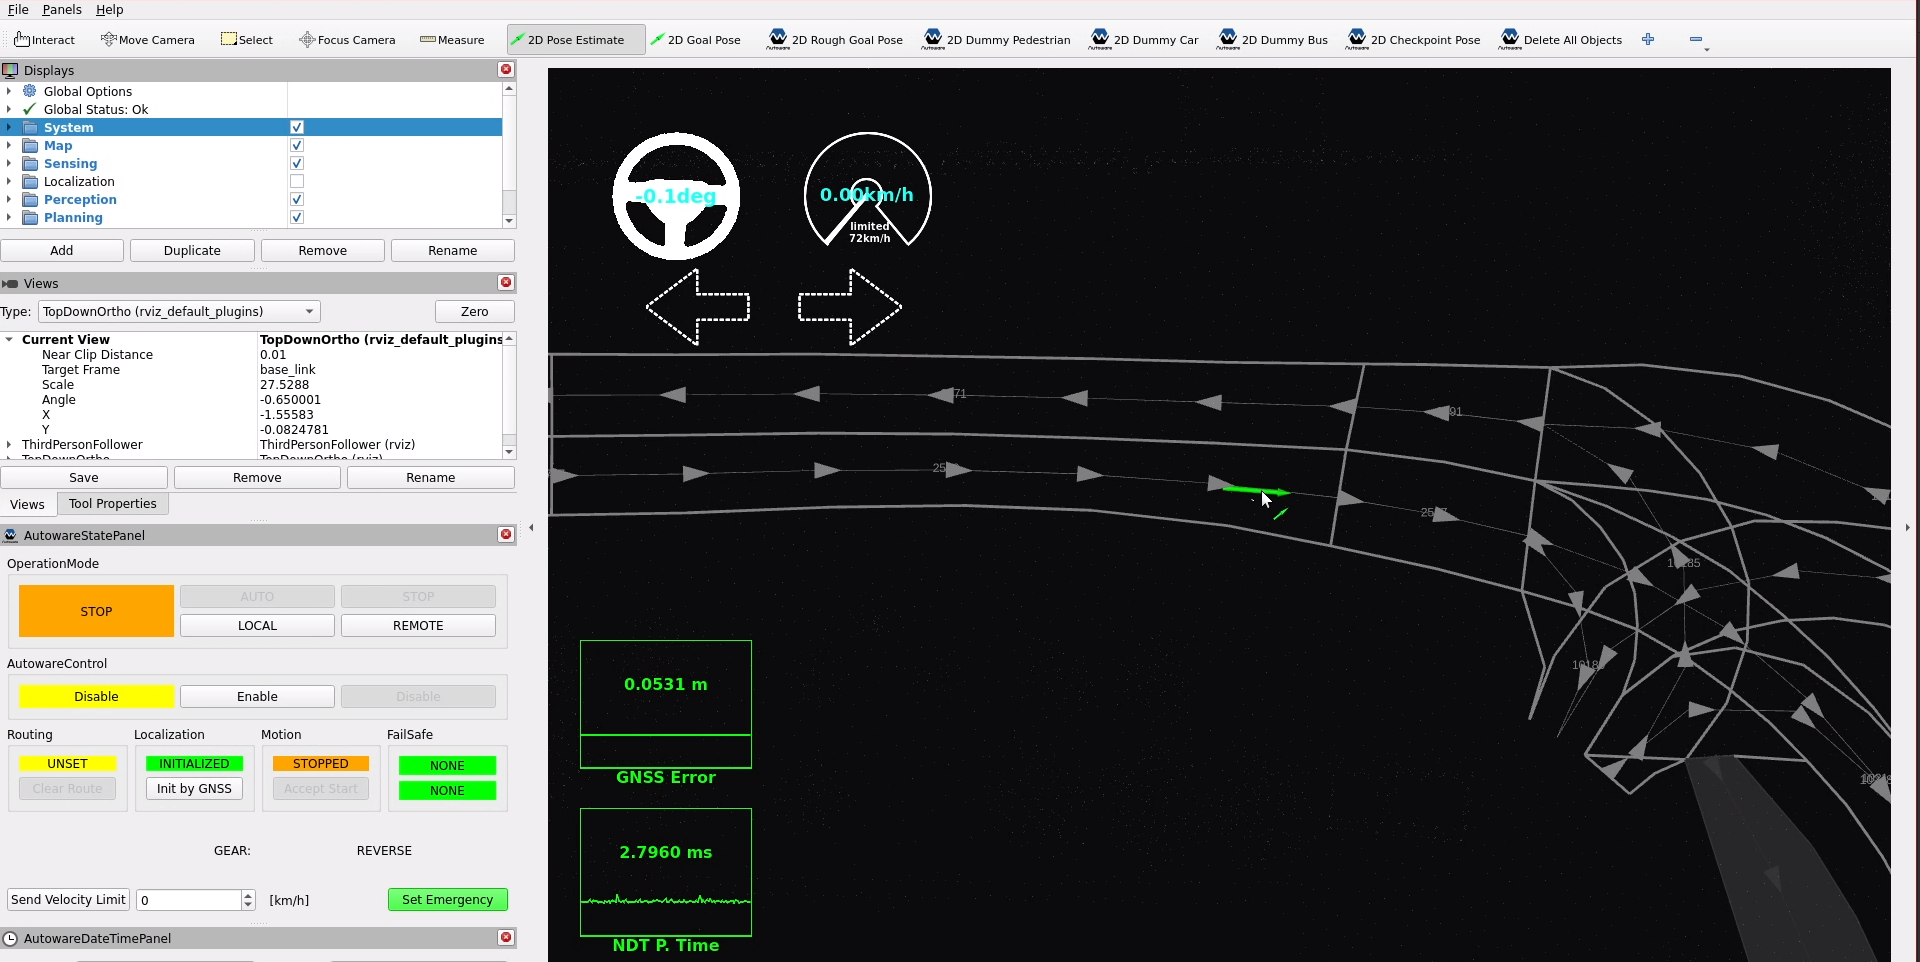
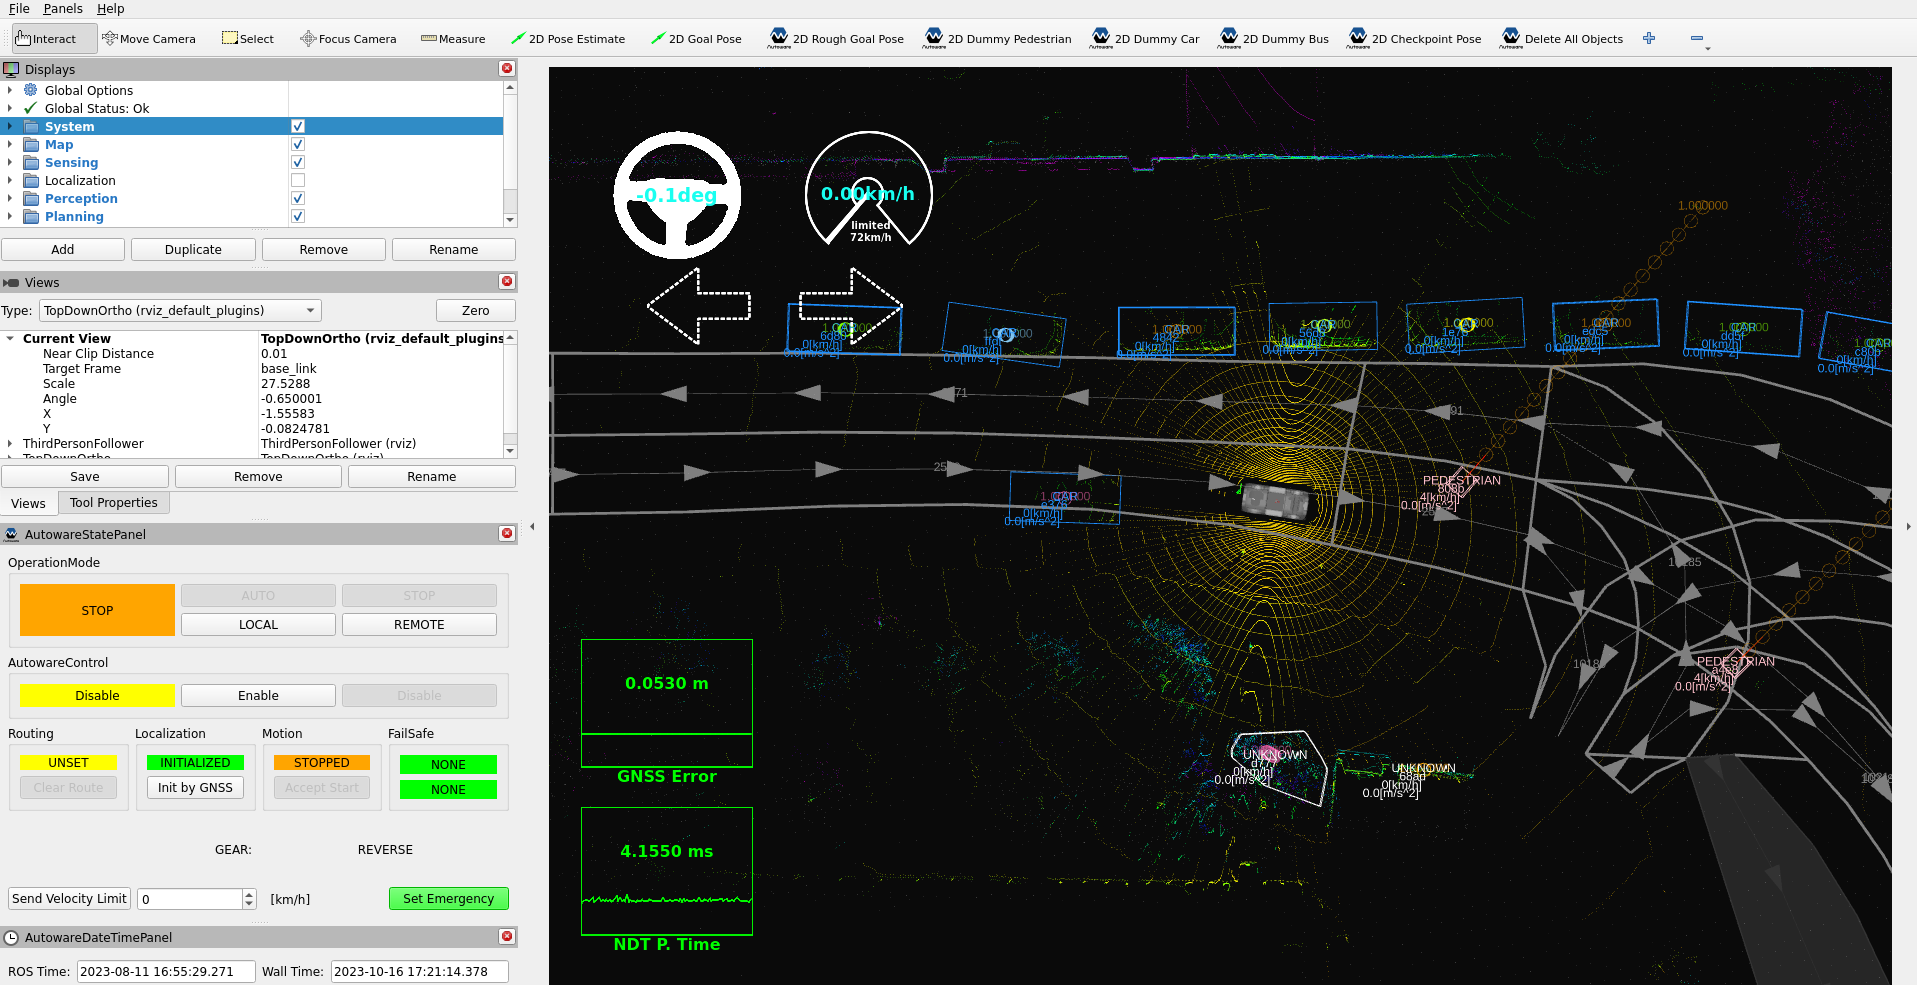
- Autoware initializes the vehicle. You can then see your vehicle and the outputs of Autoware.
Set goal pose#
Set a goal pose for the ego vehicle.
- Click the 2D Goal Pose button in the toolbar, or press the G key.

- In the 3D View panel, click and hold the left mouse button. Then drag to set the direction of the goal pose.
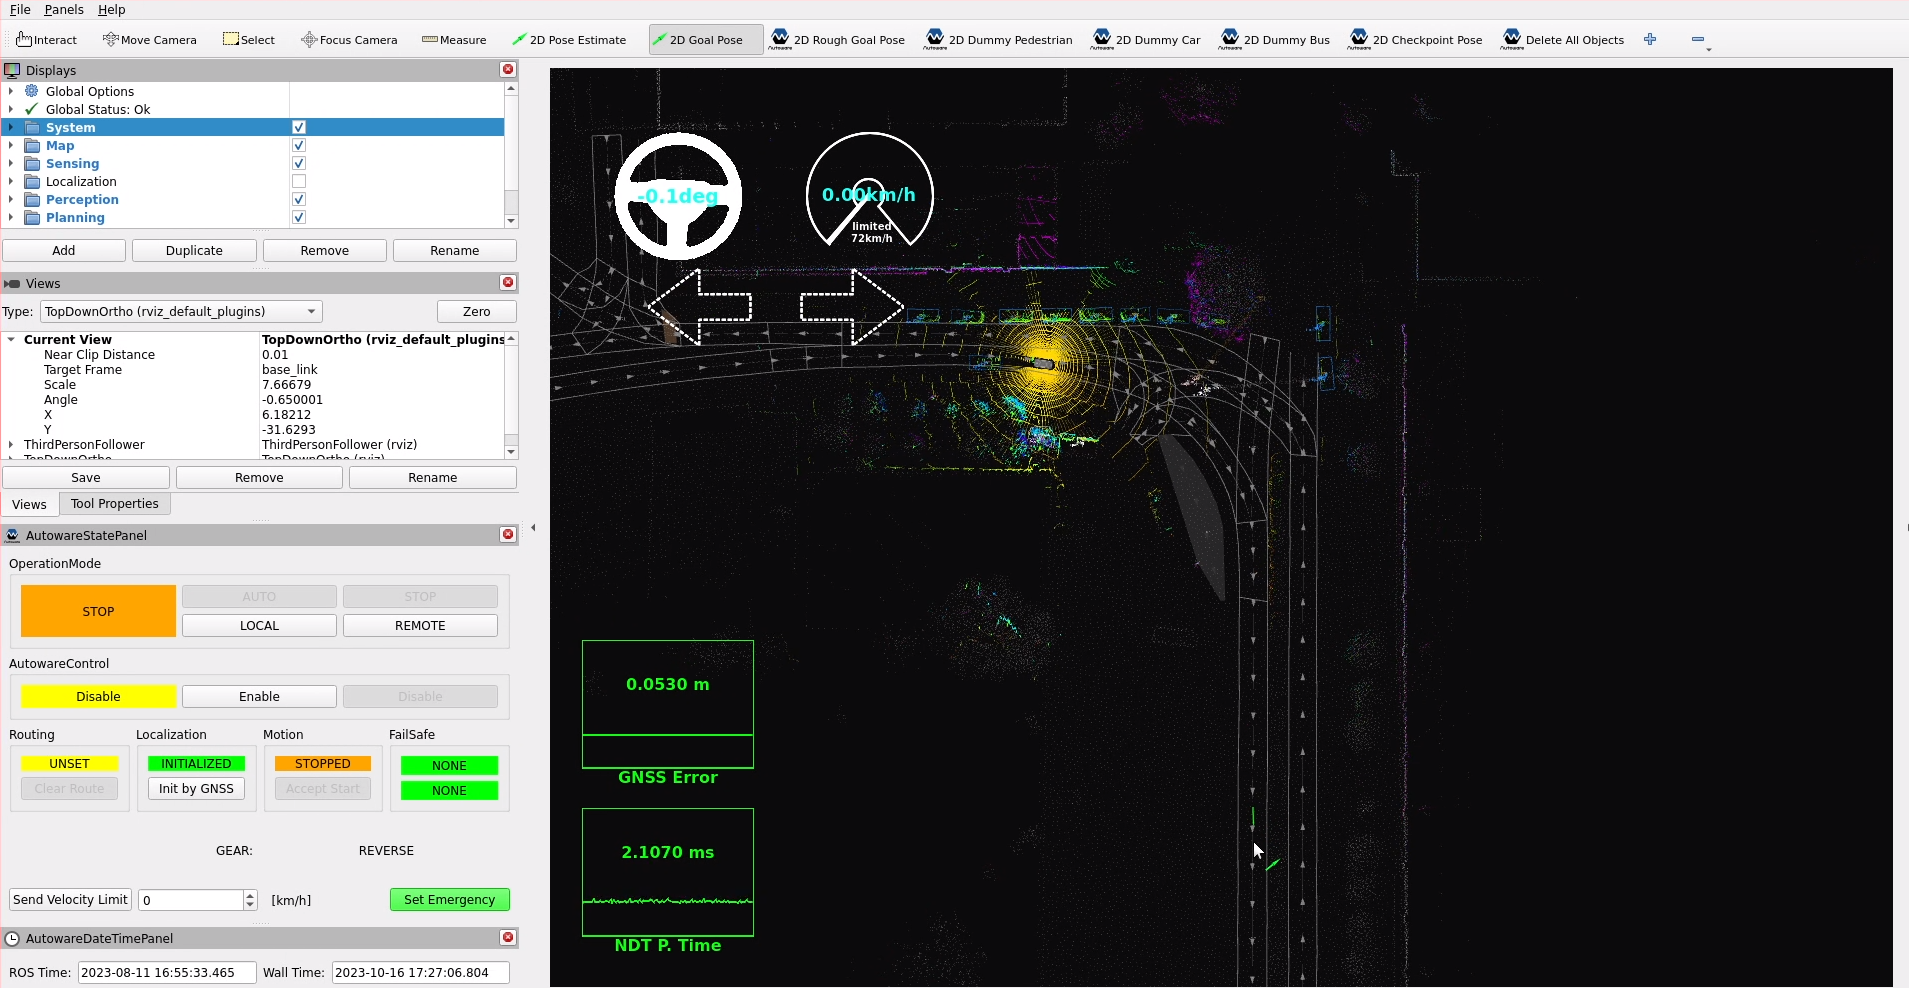
- If the route is calculated, RViz shows the planned path.
Engage#
You can engage the vehicle in two ways:
- Use the
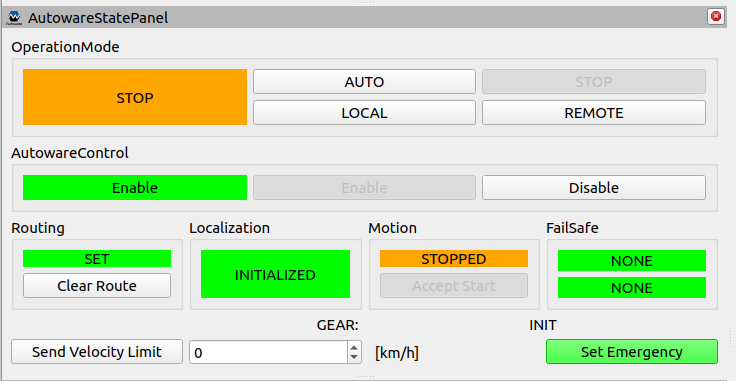
AutowareStatePanel. The Autoware RViz configuration includes it. You can also add it fromPanels > Add New Panel > tier4_state_rviz_plugin > AutowareStatePanel.
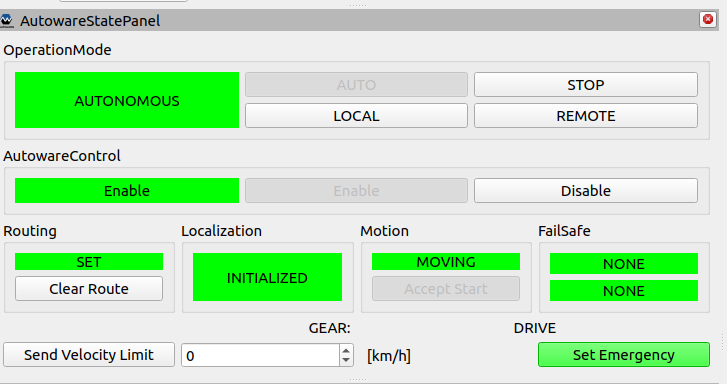
When the route is calculated, the AUTO button becomes active. Press the AUTO button to start the autonomous driving mode.
- Call the AD API service that changes the operation mode. In a terminal, run these commands:
source ~/<YOUR-AUTOWARE-DIR>/install/setup.bash
ros2 service call /api/operation_mode/change_to_autonomous autoware_adapi_v1_msgs/srv/ChangeOperationMode {}
Now the vehicle drives along the planned path.
During autonomous driving, the state panel looks like the image below. To stop the vehicle, press the STOP button.